7.04.2011

Independence Day

You might be one of those people who are very organized.

You might have labeled tubs of seasonal decor sitting in your very organized basement, just waiting for the right holiday to come.

I am not one of those people. I would like to be, but I have a more artistic (scattered) approach to life.

July 3rd came. I said, "Shoot. I was going to plan ahead and make the kids clothes for the 4th!" Off to the fabric store I went. The flag/stars/stripes fabric was 40% off, but still too expensive for what it was going to be used for. I found red and blue gingham for $.96/yard. Score! Home I went with a yard of each. No patterns were used....don't look too closely. Like a lot of what I make, these are best viewed from afar. Ha.

Clara got a bubble top.

Oliver got a kimono top. He actually owns a lot of red, white, and blue clothing, but have you ever tried telling a two year old that Mommy will be making clothes for everyone but him?

Ruthie got the scraps and an old white sundress. It all worked out.

There was also a flag cake and fireworks. Oh, my. The kids were happy.

scrappy strap

What do you do with five million (I might exaggerate) tiny triangles that are cast offs from the quilt that will never get finished? Why, make a camera strap, of course! There are oodles of tutorials out there, so naturally I ignored them all and tried it on my own. My first attempt was too tight for the strap to pass through. My second attempt was too wide. And my third was just right! What am I, Goldilocks!? Like I said, I have five million triangles, so several attempts were okay with me.

Really bad photobooth picture. How does one take a photo of one's camera strap when it is attached to one's camera? Deep thoughts.

6.28.2011

Take a Look Tuesday

I am participating in Take a Look Tuesday over at Sugar Bee Crafts. Yay for the baby bonnet and my tiny contribution to the crafty blog community. :) Go take a look!

6.20.2011

zigging and zagging

Things I love, in no particular order:

Summer flowers.

Squaring up.

Embroidery.

Girly quilt blocks.

My little family.

When my little family sleeps.

Patterns for myself.


That's right, I bought them all. New wardrobe, here I come! After the quilt is finished, that is.

6.16.2011

Bonnet Tutorial


The much anticipated (by two people) bonnet tutorial is here! Everything you will need to make your own adorable newborn(ish) bonnet is below.


Materials:
  • Bonnet Pattern in size 0-3 months (updated as of 7/1/12!) can be downloaded for free here!
  • 2 fat quarters of fabric
  • lightweight fusible interfacing
  • 2 buttons
What you do:

1. Cut out the pattern.
Iron your fabric and then fold each in half, right sides in. Lay the pieces on top of each other with your folds lined up. Pin your pattern through both fabrics and cut. Seam allowances are included, so cut right on the line. Fold a piece of interfacing and cut one pattern piece from that, too. You should have three pattern pieces now.

2. Make the straps.
Choose which fabric you want your straps to be. Cut two straps from your scraps, 2.5" x 15" (length and width isn't super important, so if you only have enough for 2.25" x 13" strips, go with it. Mine ended up being longer, more like 17").
Fold each strip in half with the right sides in, so you have two long, skinny pieces. Iron.
Take it to your sewing machine and stitch 1/4" around one short edge (I made mine with a point to make it a little fancier) and the long edge.
Leave one short edge open. Trim your corner if you did a point on your short edge.
Turn your straps right side out--I find a long knitting needle is helpful here.
Iron and set aside.

3. Assemble the bonnet.
First, iron your interfacing according to the package directions onto the wrong side of one of your fabric pattern pieces. Next, lay one bonnet piece, right side up, on your work surface. Place the other piece, right side down, on top.
Place your straps inside on the straight edge, with the short edge you didn't sew sticking out the side (I fold my straps accordion-style so they are not in the way when I sew). Pin in place.
Pin all around. Pins are your friends. Take your bonnet to the sewing machine and sew 1/4" from edge, all the way around, leaving a two inch gap at the back, between the straps. Be careful not to stitch the folded straps!
Turn right side out and iron (press your open edges inside the bonnet). You may be wondering at this point if it is ever going to look like a bonnet. It will, even though it now resembles a jellyfish.

4. Finish her off.
I like to use my sewing machine's fancy stitches to topstitch all around the bonnet. You could use just a straight stitch, too. Contrasting thread makes it even cuter!
Topstitching will close up the gap you left to turn your bonnet right-side out. Once you have it all topstitched the way you want, it is time to turn it from jellyfish to bonnet! Pull the back sides forward onto the curved edge and pin.
You are going to be sewing your buttons here. Sometimes it takes a little tinkering to get it *just right*.

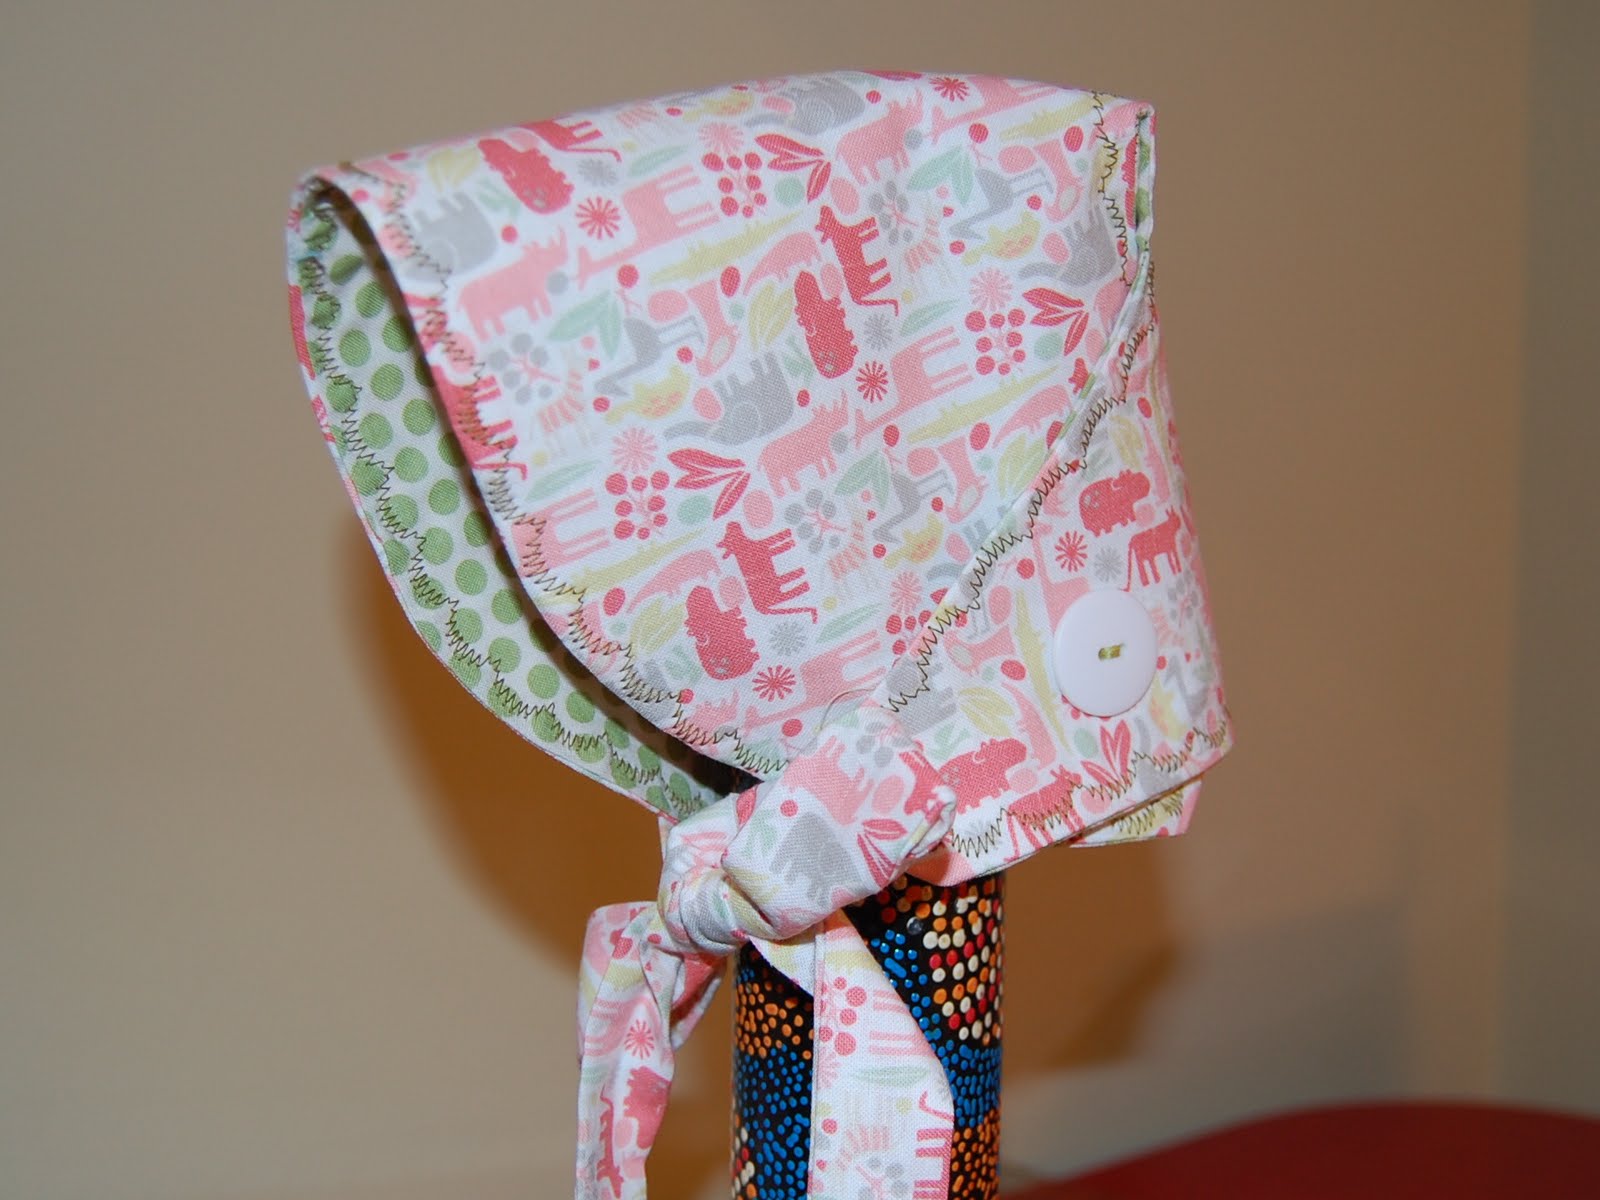
Sew your buttons on (sew them firmly so no babies can pull them off, please!) and find a cute model, or a didgeridoo if your cute model is sleeping.
Cuute!

Notes:
  • If you want to make a larger size, just add an inch or two around the outside edges of the bonnet. I have a 6-12 month pattern worked out, but it would require a scanner or something to get it onto my computer because it is bigger than one piece of paper. I am not that fancy, so you will have to work it out yourself.
  • You could also make a button hole for your buttons, but that's more complicated.
  • If you use a heavier fabric for one side, like corduroy or canvas, you can skip the interfacing. I only use interfacing for cottons.
  • Right...so if you want to make these and sell them, that's okay! But give me some credit, mmkay? And please don't pretend this is your pattern, because it isn't. Let's play nice, now. :)

There it is, my first tutorial. If anything is unclear, let me know. Happy sewing to you all.

4.26.2011

oh goodness

I have not been a very faithful blogger, have I? Well, I have been making lots of stuff, even if I haven't been posting about it. 


First, this little outfit for a friend's fundraiser. Her son has to have three more surgeries this summer, after already having four in the last year due to a non-healing wound. Their medical bills are out of control, so my mom's group is putting together a garage sale and a raffle for her. It is a little elephant cardigan and matching skirt in size 2T. I still need to get buttons for the cardi. I think it's pretty cute! I hope it brings this family a little more money. 

I also made a couple really wonky sleep sacks for Ruthie. I am finally done swaddling her and blankets at this age just scare me. Anyway, they are not photo worthy--just hot pink fleece and poorly installed zippers.

I have also finally started cutting pieces for Clara's quilt. That has taken me long enough! I decided on a snowball quilt. It is going to be very colorful. 

Almost forgot--I made a Nook pouch for my awesome friend Gilda. (she took the picture and I stole it off Facebook). 


More later.


4.08.2011

bliss is baby girl clothes


Ruthie is getting dedicated at our church on Sunday and I just *had* to knit her a little dress. Then, I just *had* to sew a little under-dress with ruffles. Then, I just *had* to knit matching booties. Then, I just *had* to find the perfect hair (or sweet bald baby head) accessory from the cutest etsy shop ever. SIGH I might have a problem. In fact, I know I do. I also have a hand cramp from size three needles. 


3.12.2011

new fabric *sigh*

I love Crafty Planet and their yummy fabrics. 
New ones for my stash (unspecified uses so far):


So pretty!
Much thanks to my lovely Carly for the gift certificate at Christmas. 

3.11.2011

nap time insanity


(random muppet to start us off)

So...hello there.  Sometimes nap time makes me completely insane. It is rough having three kids at 2:00pm. Ruthie, bless her little chubby baby soul, naps perfectly for two or even three hours every afternoon. Clara I don't even hope for a nap from, as she dropped them like they were hot almost two years ago. She gets an hour and a half of 'quiet time' in her room, where she reads or plays or imagines or bangs on the window to make the neighbor dog bark. Whatever. If she leaves me alone, I am happy. Oliver has napped great until the last month. Now his sole purpose in life seems to be to make me crazy every afternoon and to watch me snap. It's not pretty. He stopped napping. Okay, fine. Quiet time. But he is a 2.5 year old boy who knows not the meaning of silence. Out of his room, mommy puts him back. Out of his room, mommy puts him back. Repeat until mommy loses her mind. 
I digress. My point is that today was a rare napping day for Oliver, so I got a full blissful hour before Clara was done with her quiet time and came to force herself on me. I could have cleaned. I could have made a glorious meal for my family. There were many options, but I randomly chose to sew myself a new spring hat. Do you like it?


I had leftover cotton knit interlock from when I made a moby kind of baby wrap (for 1/3 of the price, might I add). I found this tutorial last fall and decided it was time to use it! I am pretending the bill is supposed to be wonky. I am almost thinking I should change my blog name to Wonky Copycats because that is how I often feel things turn out. I find someone else's talent, I copy it, it turns out wonky, the end. 

Next up, a pettiskirt for Clara.

2.26.2011

I can't seem to stop myself

I figured it out!  I took the apron bonnet and cut it down to make it look more like the one I am trying to imitate. I think I am in love. Too bad my little model is napping right now. I am guessing this one is a 3-6 month size. Next step, pattern out different sizes. Possible third step, sell them? What would you pay for a bonnet?


Edit:
I tried it on her. I think it's more of a 0-3 month size. Some pics: