

a little blog about compulsive knitting and other crafty pursuits
6.28.2011
Take a Look Tuesday
I am participating in Take a Look Tuesday over at Sugar Bee Crafts. Yay for the baby bonnet and my tiny contribution to the crafty blog community. :) Go take a look!
6.20.2011
zigging and zagging
Things I love, in no particular order:


Summer flowers.

Squaring up.

Embroidery.

Girly quilt blocks.

My little family.

When my little family sleeps.

Patterns for myself.


6.16.2011
Bonnet Tutorial

The much anticipated (by two people) bonnet tutorial is here! Everything you will need to make your own adorable newborn(ish) bonnet is below.


Materials:
- Bonnet Pattern in size 0-3 months (updated as of 7/1/12!) can be downloaded for free here!
- 2 fat quarters of fabric
- lightweight fusible interfacing
- 2 buttons

What you do:
1. Cut out the pattern.
Iron your fabric and then fold each in half, right sides in. Lay the pieces on top of each other with your folds lined up. Pin your pattern through both fabrics and cut. Seam allowances are included, so cut right on the line. Fold a piece of interfacing and cut one pattern piece from that, too. You should have three pattern pieces now.

2. Make the straps.
Choose which fabric you want your straps to be. Cut two straps from your scraps, 2.5" x 15" (length and width isn't super important, so if you only have enough for 2.25" x 13" strips, go with it. Mine ended up being longer, more like 17").


Take it to your sewing machine and stitch 1/4" around one short edge (I made mine with a point to make it a little fancier) and the long edge.


Leave one short edge open. Trim your corner if you did a point on your short edge.


Iron and set aside.
3. Assemble the bonnet.
First, iron your interfacing according to the package directions onto the wrong side of one of your fabric pattern pieces. Next, lay one bonnet piece, right side up, on your work surface. Place the other piece, right side down, on top.

Place your straps inside on the straight edge, with the short edge you didn't sew sticking out the side (I fold my straps accordion-style so they are not in the way when I sew). Pin in place.


Pin all around. Pins are your friends. Take your bonnet to the sewing machine and sew 1/4" from edge, all the way around, leaving a two inch gap at the back, between the straps. Be careful not to stitch the folded straps!

Turn right side out and iron (press your open edges inside the bonnet). You may be wondering at this point if it is ever going to look like a bonnet. It will, even though it now resembles a jellyfish.

4. Finish her off.
I like to use my sewing machine's fancy stitches to topstitch all around the bonnet. You could use just a straight stitch, too. Contrasting thread makes it even cuter!

Topstitching will close up the gap you left to turn your bonnet right-side out. Once you have it all topstitched the way you want, it is time to turn it from jellyfish to bonnet! Pull the back sides forward onto the curved edge and pin.

You are going to be sewing your buttons here. Sometimes it takes a little tinkering to get it *just right*.


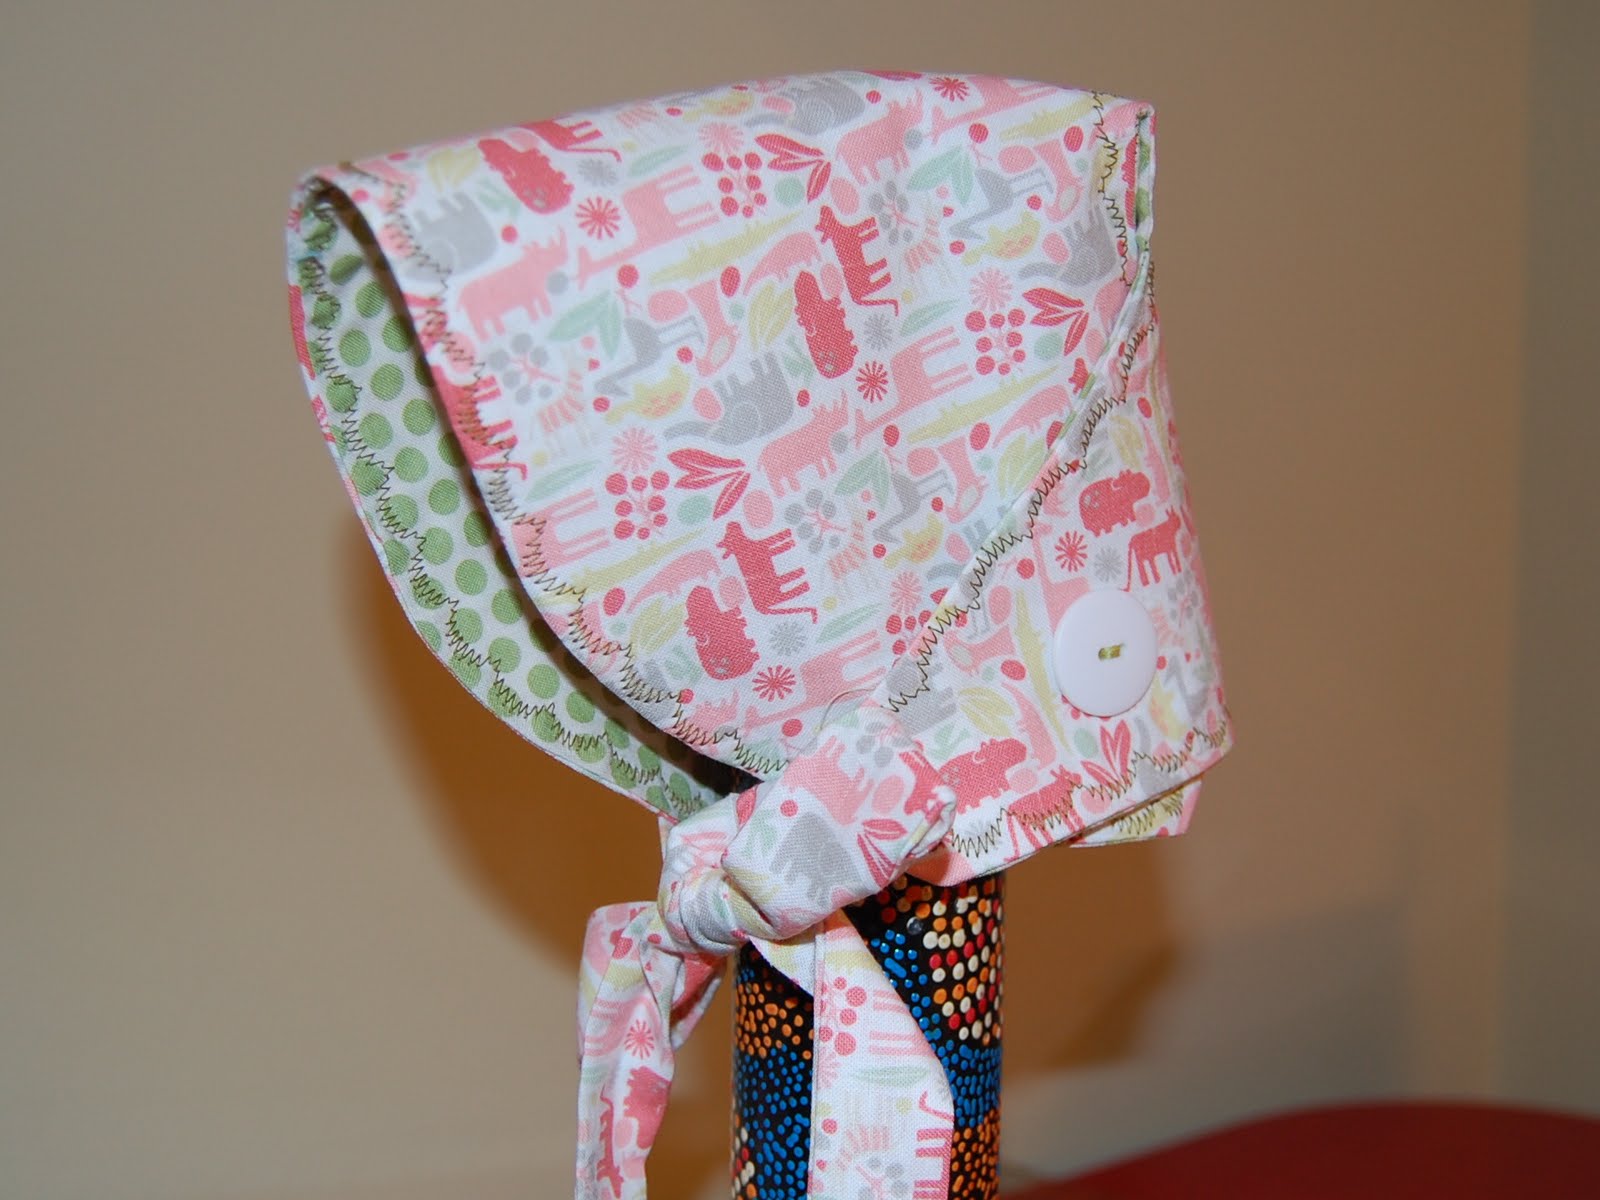
Sew your buttons on (sew them firmly so no babies can pull them off, please!) and find a cute model, or a didgeridoo if your cute model is sleeping.
Notes:
- If you want to make a larger size, just add an inch or two around the outside edges of the bonnet. I have a 6-12 month pattern worked out, but it would require a scanner or something to get it onto my computer because it is bigger than one piece of paper. I am not that fancy, so you will have to work it out yourself.
- You could also make a button hole for your buttons, but that's more complicated.
- If you use a heavier fabric for one side, like corduroy or canvas, you can skip the interfacing. I only use interfacing for cottons.
- Right...so if you want to make these and sell them, that's okay! But give me some credit, mmkay? And please don't pretend this is your pattern, because it isn't. Let's play nice, now. :)
There it is, my first tutorial. If anything is unclear, let me know. Happy sewing to you all.
Subscribe to:
Posts (Atom)